

How to Apply Your Patch: Step-by-Step for Every Backing Type | Only Patches
Custom patches are a fun, creative way to add personality or branding to your clothing, accessories, and gear—but if you’ve never applied one before, it can be a bit confusing. Don’t worry—we’ve got you covered!
At Only Patches, we offer multiple backing options: iron-on, sew-on, Velcro (hook-and-loop), and stick-on (3M adhesive). This guide walks you through how to apply each type—step by step—so you can get the best results, no matter your skill level.
🧼 Before You Start: A Few Quick Tips
✅ Make sure your surface is clean and flat
✅ Avoid stretch fabrics for iron-on or sew-on patches
✅ Use a press cloth (like cotton fabric or parchment paper) for heat-based applications
✅ For long-term durability, consider combining methods (e.g. iron-on + sew)
🔥 How to Iron On a Patch
SEO Keyword: how to iron on patch
Best for: Cotton, denim, canvas jackets, aprons, hoodies
🔧 What You’ll Need:
- Iron (no steam)
- A hard, heat-safe surface
- A thin cloth or parchment paper
- Your iron-on patch from Only Patches!
📌 Steps:
- Preheat the iron to medium-high (about 150–170°C / 300–340°F). No steam.
- Position the patch exactly where you want it, embroidery side up.
- Place a cloth or parchment paper over the patch.
- Press firmly for 20–30 seconds, applying even pressure.
- Flip the garment inside-out and press the area again for another 20 seconds.
- Let cool for a few minutes before moving.
✂️ How to Sew On a Patch
SEO Keyword: how to sew patch
Best for: Uniforms, workwear, backpacks, jackets, baby blankets
🔧 What You’ll Need:
- Needle & thread (or sewing machine)
- Scissors
- Pins or fabric glue (optional)
📌 Steps:
- Place the patch on the fabric and pin or glue lightly to keep it in place.
- Thread your needle and start with a knot at the back.
- Use a straight or whip stitch around the edges of the patch.
- Knot and finish at the back when done.
💡 Pro tip: Use thread that matches the patch border for a clean look.
🧲 How to Apply a Velcro Patch
SEO Keyword: how to apply velcro patch
Best for: Tactical gear, uniforms, sportswear, reusable patches
Most Only Patches Velcro patches come in two parts: the hook side (on the patch) and the loop side (to attach to clothing).
📌 Steps:
- Sew or iron the loop side onto your garment or gear.
- Peel the patch from its packaging.
- Align the hook side of the patch with the loop base.
- Press firmly—it should grip instantly.
- To remove, just peel it off and swap with another patch!
💡 Ideal for name tags, military gear, and team-based clothing.
🧼 How to Use Stick-On (3M Adhesive) Patches
SEO Keyword: stick-on patch
Best for: Events, promo merch, non-fabric surfaces (laptops, notebooks, etc.)
📌 Steps:
- Clean the surface with a cloth—no dust or oil.
- Peel the protective film off the back of the patch.
- Carefully position and press down firmly for 10–15 seconds.
- Let it rest for 1–2 minutes before use.
❗ Not recommended for long-term wear or washable clothing.
🧠 Final Tips
- For maximum durability, iron-on patches can also be sewn down afterward.
- Use Velcro when you need to switch patches regularly.
- Stick-on is perfect for events and short-term use—but not washable!
At Only Patches, we make sure every patch type is tested for quality, so you can apply with confidence—whether it’s one patch or one hundred.
📩 Still unsure? Contact us and we’ll help you choose the best option.
Iron-On vs. Sew-On vs. Stick-On vs. Velcro: What Patch Backing Is Best for Your Project? | Only Patches
Custom Patches for Uniforms: A High-Impact, Low-Cost Branding Tool
Related Posts

Why Laser-Cut Edges Make Custom Patches Look More Professional

What 1,000+ Custom Embroidered Patches in Production Really Looks Like
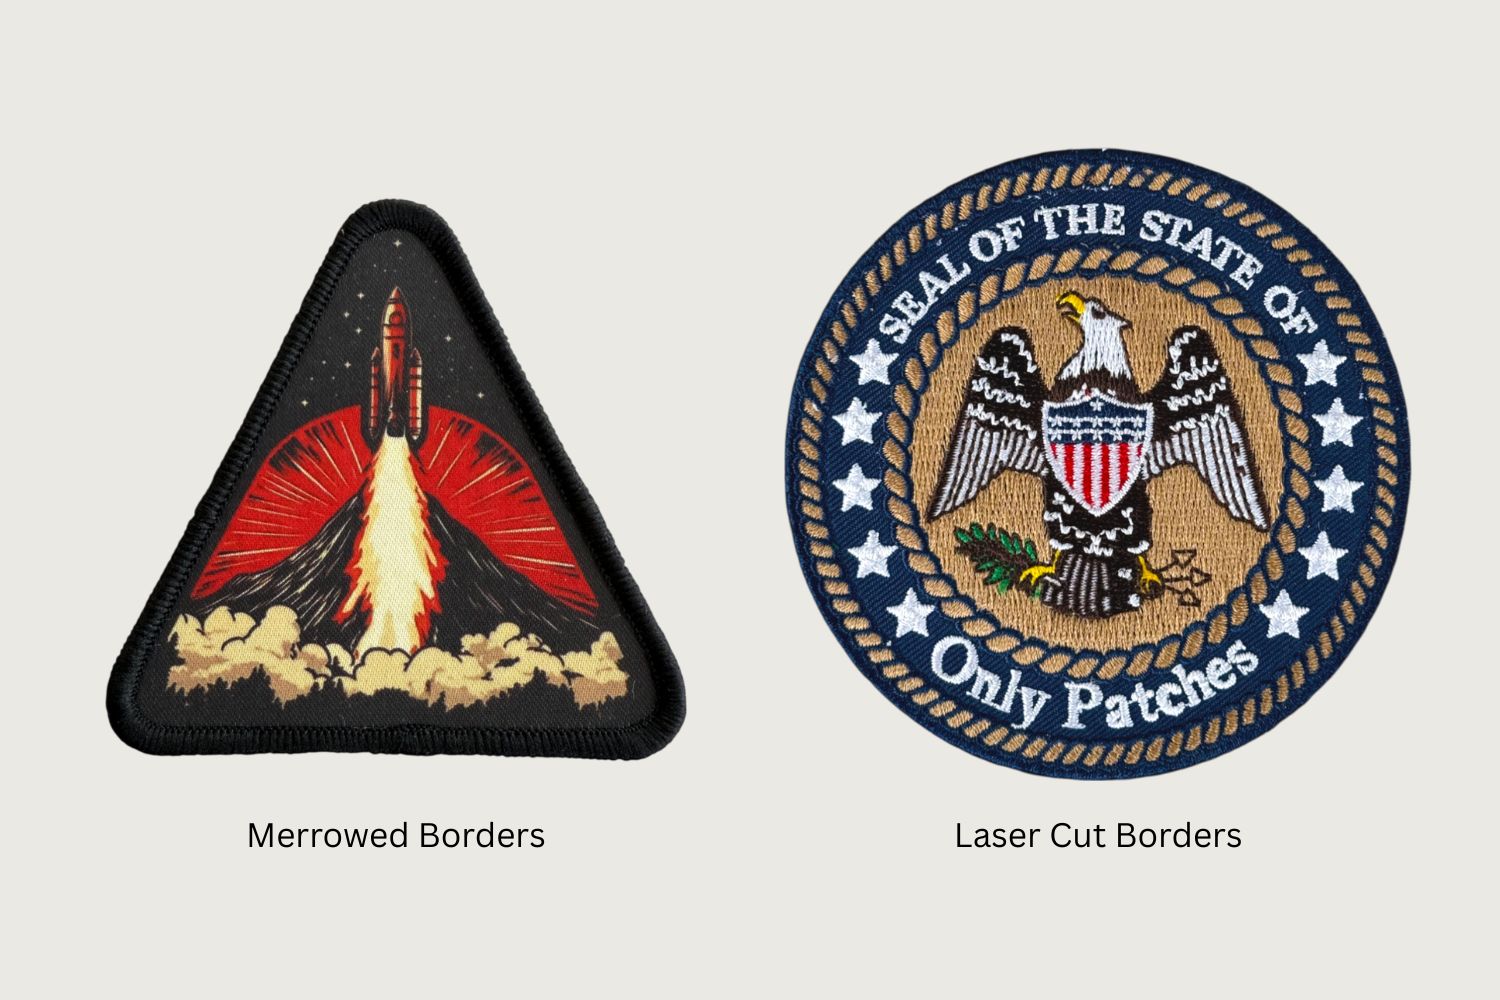
Patch Edges 101: Merrowed vs Laser-Cut

Embroidery, Woven, PVC, or Sublimated: Which Patch Type Is Right for You? | Only Patches

Custom Patches for Uniforms: A High-Impact, Low-Cost Branding Tool

Iron-On vs. Sew-On vs. Stick-On vs. Velcro: What Patch Backing Is Best for Your Project? | Only Patches
